How to clean mold off walls using vinegar

as an Amazon Associate I earn from qualifying purchases.

Molds naturally occur as a byproduct of damp environments. More often occur in winter or after long continuous rainy days which cause condensation to happen in the house. While mold growth is very common in the household, it can potentially contribute to dangerous respiratory illness and can make asthma and allergies worsen when it’s left untreated.

Luckily, smaller areas of occasional mold growth that are caught early, can be easily removed with simple method further discussed in this article. However, depending on the type of mold and the extend of the spread, if you are dealing with particularly large areas of mold infestation, it is best handled by professional mold remediation company. The Environmental Protection Agency (EPA) suggests to call the professionals if the infected area is larger than 10 square feet or a 3-foot by 3-foot square.

But first, let’s find out how mold occurs and where he likes to hang around before removing it from the root.

Why there is mold in the house

One word: CONDENSATION.

Condensation happens when your house is too humid and the warm air hits cold surfaces.  

Besides the external factors like wet & cold weather, there are several internal affairs that contribute to the increase of airbourne moisture causing condensation to happen inside the house which support the mold growth. These factors can be as serious as water leaking or plumbing issue or as ordinary as daily household activities like: drying your washings (cloth) indoors on radiator in winter, cooking on a pot without lid, hot baths & showers in winter. All these activities add certain amount of moisture to the indoor air.

Let’s see below how the moisture cycle works:

When you dry your washing indoor, the heat from radiator dry the clothing, this moisture evaporate into the air. When the moisture hit any cold surfaces in the house, it reaches its dew point and turn back into water. Same principle applies to boiling kettle, cooking without lid on, hot showers, etc.

How to find mold in the house

Mold thrives in damp areas. The most common areas where you might find black mold lurking is places like basements walls, bathroom walls, behind beds and furniture like wardrobes, behind cupboards, above skirting boards, joint between ceiling and walls especially exterior walls, window frames and surrounds, also places like the shower, dishwasher, and washing machine may see mold growth from time to time.

Like many other problems in the world, it’s best to solve the issue at its early stage while it’s still easy to deal with. The same with mold, it is important to remove it right away once you spot a dot, stop its growth before it spreads.

How to clean mold off walls

Before you clean the mold, make sure that the main issue causing moisture problem that led to the mold growth has been addressed in the first place. That means, if there is water leak or plumbing issue, FIX IT! 

Next, rather than turning to harsh chemicals (like bleach or borax), we can use this low budget yet powerful non-toxic natural mold removal: VINEGAR to kill mold – easily accessible through amazon and/or at your local Walmart store.

There are other cleaning agents that can be used to clean mold off walls such as soap & water, Hydrogen Peroxide, tree tea oils, baking soda, citrus extract, etc.

Will vinegar kill mold?

There are several misconceptions on the ways to get rid of mold using bleach. In fact, bleach does not kill the mold at all. It simply discolors them making it looks disappear while the mold spores are still around and we still inhaling them.

The best natural mold solution is none other than Vinegar.

Most household White Vinegar typically contain around 5% acidity. With its antifungal and acidic antibacterial characteristics, vinegar becomes one of the best natural mold removers. In Fact, it is the most popular eco-friendly, non-toxic multipurpose daily household cleaner.

Where not to use vinegar to kill mold

Although the vinegar’s acidity is its source of power for cleaning and disinfectant, it also has the potential to damage certain types of surfaces in the house.

While you can safely use vinegar to kill mold on a wide range of surfaces, it is best to keep far away from the following surfaces:

  • Stone counter tops

Because vinegar is a natural disinfectant, it’s commonly used to clean and disinfect countertops after food preparation. However, make sure you DO NOT use it on Stone Countertops (eg. granite or marble tops) as the acid in vinegar can damage and discolor stone surfaces, make them dull and lose their shine overtime. Use warm water with mild dish soap or a natural stone cleaner instead.

  • Concrete walls

Although vinegar is unlikely to damage the concrete surface itself, it may harm the surrounding cement.

  • Wooden walls or floors

It is not recommended to use vinegar to kill mold off wooden surfaces as it may break down the protective finish, allowing water to penetrate, dissolve and leave watermark and may further degrade the wood floor overtime.

Some research suggests that if you diluted the vinegar, it may reduce the harm as the acidic level has lowered. However, this also means its effectiveness in killing mold has lowered too.

  • Porous surfaces

With porous or absorbent surfaces such as carpet or ceiling tiles, it will be ineffective to use vinegar to kill mold off these surfaces. It is best to simply replace them instead of trying to cleaning them.

Step by Step on How to use vinegar to clean mold off walls?

2.4-clean-mold-off-walls-using-vinegar

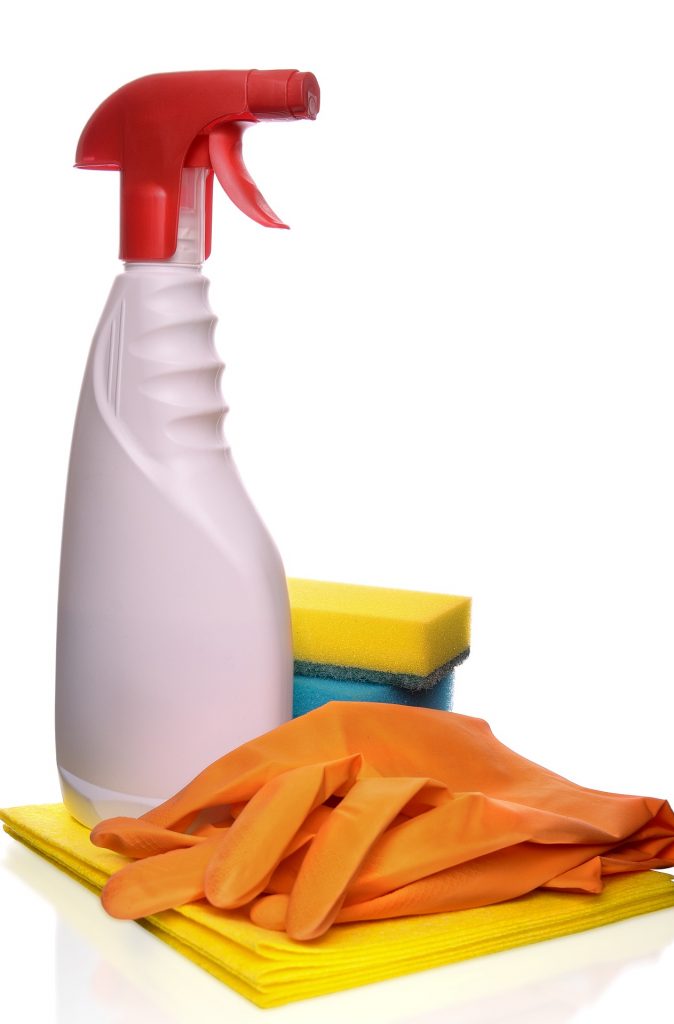
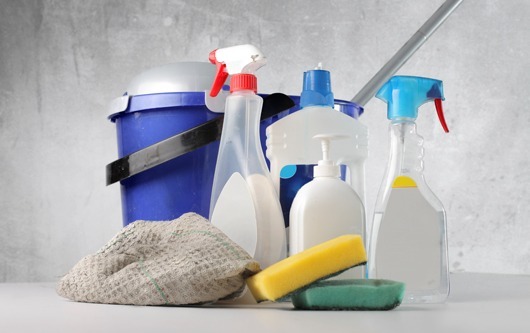
First, prepare the materials you’ll need:

  • Distilled White Vinegar (Undilluted)
  • Spray bottle or Bucket water
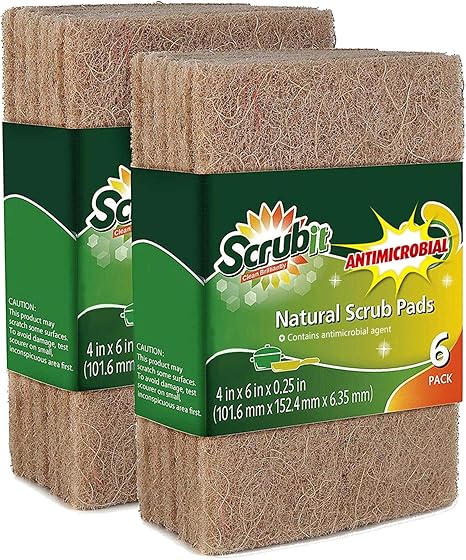
  • Sponge or Scouring Pad and/or Soft Brush
  • Rubber gloves
  • Face Mask
  • Eye protection (ie.goggle)

Then, follow below Instructions:

Step 1. Ventilate the room

Open doors and windows to help ventilate the area you’re working in. Turn on the exhaust fan where possible.

Step 2. Wear protective gear

2.4-how-to-kills-mold-off-walls-with-vinegar

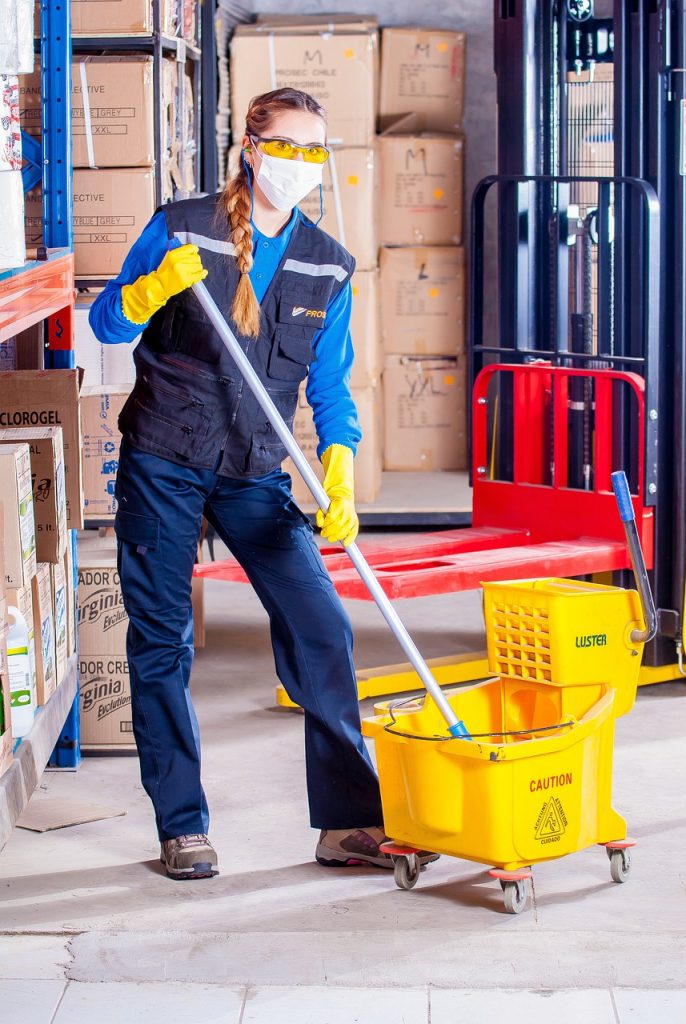
Prior to cleaning the moldy surfaces, make sure to put on your protective gears (mask, goggle, gloves) as direct contact with mold may cause irritation or allergic reaction, especially when the mold spores become airborne during cleaning process.

Step 3. Apply the Vinegar

Pour undiluted distilled white vinegar into empty spray bottle. Spray the vinegar directly on the moldy area, and allow it to sit for at least an hour. Then, scrub with a scouring pad / soft brush and rinse or wipe the area with clean warm water.

Step 4. Use baking soda scrub for tough area

For persistent mold, apply this additional step (using baking soda solution) and spray directly onto moldy remains. Mix a teaspoon of baking soda with two cups of water and shake vigorously. Spray onto mold stain and scrub it off. Then use a damp towel to wipe the area clean.

Step 5. Finish off with final spray

If you don’t like the smell of vinegar, add some essential oil (eg. lemon oil, lavender oil, tea tree oil) into diluted vinegar spray. Give the area a final spray and leave it to air dry. This last spray will help prevent mold from growing back.

How to prevent mold to revisit

Mold likes moist environments. In order to avoid mold from growing back, we need to first reduce the source of moisture wherever possible.

This is how you can do it:

  • Don’t dry cloth/washing indoor

Use tumble dryer to dry cloth. If unavoidable, use dehumidifier in the room when hanging your wet cloth indoor.

  • Always use lid on your pan while cooking

Not only it limits airborne moisture, your food cooked faster too – saves energy [ticked].

Don’t forget to close door to prevent steam from entering rest of the house. Make sure to turn on the ventilator / rangehood while cooking.

  • Always turn on the extractor fan while having hot bath / shower

Look for high-capacity extractor fan or the one with build in humidity sensor – google “high capacity/high flow extractor fan”; alternatively, open window after shower to allow air movement (except in winter, where outside air is more humid and damp than indoor).

[a good Rule of thumb: if u can’t dry cloth outside, close the window. There is No merit at all to let damp air outside back inside the house.]

  • Use dehumidifier and HVAC systems to keep humidity level under control

Consider using a dehumidifier in mold prone areas like the basement, bathroom, and kitchen. Ideally, keep the humidity level indoor below 50%.

  • Keep your house well ventilated

Use extractor fans in the kitchen and bathroom. Open windows for air circulation where possible (except if outside air is more humid than indoor). Make sure you have proper ventilation system in place especially if you live in an area with high humidity level.

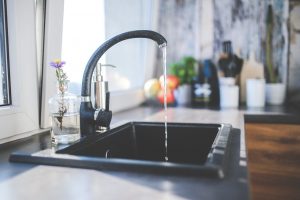
  • Repair any leaking issues

Fix any water leaks or HVAC (Heating, Ventilation, and Air Conditioning) issues. Repair or replace leaking windows to help prevent mold growth around the frame.

Mix mold inhibitors into your paints and paint it away on your walls in the next reno.

OR simply add another layer of fungicidal coating as top coat on the wall to protect the surface from mold and mildew growth. Make sure you have cleaned the area from dust and mold prior to painting.

5 Tips to hammer your home electricity bill

The summer heat may be getting you hot under the collar, but there’s no need to sweat your electricity bill. With some time-tested and trusted tricks, you can lower your bill electricity and enjoy the savings that come from saving energy.  

Follow below 5 tips to hammer your home electricity bill:

Use energy-efficient bulbs

Since about 5% of your home’s bill electricity will come from light usage, it’s wise to use bulbs energy that are efficient. Not only to traditional incandescent bulbs use more energy and have a shorter lifespan, but the heat they produce can increase the indoor room temperature, causing you to use more energy to keep your indoor space cool during the summer. Using compact fluorescent lamps and light emitting diodes where possible reduces the heat lost that’s produced from lighting and provides more efficient lighting, leading to all-around energy savings.

Set your thermostat and lights on a timer

Traditionally, the best way to control lighting and temperature in indoor spaces was to constantly turn the lights on or off and adjust the thermostat. Aside from potentially forgetting to change or forgetting to turn the lights off, this constant adjustment is tedious and not very effective, especially if you leave for vacation or are returning from work. Why cool or heat a space that you’re not using and why suffer until the space changes to an ideal temperature?

Smart homes equipped with smart thermostats can be synched with a wireless device such as a phone or laptop or pre-programmed so that your indoor spaces will be cooled or heated when you are there, with less energy being used when you are not. Likewise, you can program lights in your home to be timed to go on or off, preventing lights being accidentally left on or off. Smart lighting systems also incorporate intensity controls such as dimmers that allow you to control the intensity of the lights when they are, maximizing their efficiency.

Using high efficiency appliances

An energy efficient home is not just how the home is built but also how the appliances in your home operate. Energy efficient appliances not only use less energy to operate, but they also work more efficiently so that you won’t have to provide any remedial energy, such as can happen when dishwashers don’t work efficiently.

More importantly, efficiency leads them to have longer lifespans that require you to invest less in appliances. Such appliances as refrigerators can provide climate-controlled areas in your refrigerator tailored to specific food groups to maximize food storage without excessive cooling, while appliances such as stoves, ovens and microwaves can provide direct and quality cooking heat without wasting excess energy and without ruining your food.

Making sure that your home is sealed

No one wants to heat or cool the entire neighborhood, which is why a properly sealed home is key to energy efficiency. A properly sealed home can save up to 15% on your bill electricity. This comes from preventing unwanted air from going into or out of your home, which lowers heating costs.

In order to make sure that your home is properly sealed, check your windows to make sure there aren’t any gaps when it is closed and that it is properly caulked inside and outside of your home. Also, check doors to make sure that they close properly and that there is not too large of a gap where the door meets the threshold. If there is, using trim or insulating strips can help to reduce drafts and unwanted heating or cooling expenses.

Use proper roof shingles

While insulating and sealing your home is important to making sure that your home is energy efficient, it can only do so much. And, in the case of improving insulation, it can be difficult to adjust unless you are completely remodeling your home.

With one of the largest footprints of any component of your home, your roof plays a critical role in determining your home’s energy efficiency. Energy star roof shingles provide exceptional reflection of the sun’s rays while also lowering the overall roof temperature. This can substantially decrease the heat that enters your home, lowering your home’s overall energy bill while keeping you cool in the process.

Making your home efficient

When it comes to efficiency, there are a lot of tips and tricks you can use to increase the energy used for your home. If you’re looking for more energy saving ideas and green living ideas, please visit here. There’s no better way to increase positive energy than to reduce the energy used for your home.

Recycling 101 – Recycle made Easy….9 Items You’re Recycling that You Shouldn’t

When it comes to recycling, we all want to do our part. Part of trying to follow a green living plan means doing more with less and also finding creative ways to avoid sending used items to a landfill. From donating used clothing to simply buying fewer items, we can all do our part.


However, are you always recycling what you should?And have you doing it right?

Most county recycling programs will give you a list of items that you can and cannot recycle. Still, it’s surprising to find out that some items could actually cause more damage to the environment if recycled. So, Instead of going to a recycling bin, these items have their own collection area if you would like to dispose of them responsibly.

And with those going to the recycling bins, if not doing it properly, it may also cause problems during the process. In general, all containers need to be emptied and rinse before throwing into recycling bin. No flammable residue and food waste attached.

Below list show you a few of the items that are commonly recycled but shouldn’t be!

1. Plastic Bags and Plastic Wrap

how to recycle plastic wrap

Some plastic containers can be recycled but plastic bags and plastic wrap including bubble wrap aren’t typically accepted in curbside recycling bins, especially when to be tossed with other recycling items, unless your county specifically states that they are. This is because the lightweight plastic in this material can actually damage the machines used in recycling centers. So, while you can still re-use plastic bags, they’re probably not a good item to recycle. And when it’s time to be recycled, return them to participating drop-off location such as retail stores or grocery stores that have special collection bins for plastic wraps and the like. So be sure to ask the store manager or look it up HERE.

2. Food-Soiled Items

food soiled items are not recyclable

All containers, even if they are recyclable, cannot be recycled if they contain food. This is why it’s recommended that people rinse out items before placing them in a recycling bin. You probably don’t need to scrub out your containers but large chunks of food are going to make the item unable to break down or potentially cause contamination and other problems. The biggest offenders in this category are items which actually absorb foods. Pizza and pastry boxes may be a recyclable material but if they’ve absorbed grease or oil, it become contaminated, then they CAN’T be recycled. You can, however, tear off portions of pizza boxes that are not stained to recycle.

And NO, Styrofoam and polystyrene containers (most fast food take-out boxes, coffee cups, and the like) aren’t recyclable as it’s made of materials that are not biodegradable. However, you may consider giving them a new life in your DIY / Crafting projects or reusing them as gardening accessories. Though at the end of its lifetime, they will still end up in landfill. Best is to avoid using them at all, bring your own reusable container & coffee cup when you are on the go and be a true Green Explorer.

3.  Mirrors, Window Glass and Glassware

glassware

While most glass jars & liquor bottles can be thrown in recycling bin, it won’t necessarily apply to all glass made items. For example, drinking glasses are made with lead glass, which isn’t a kind that can be recycled curbside. Mirrors, window glass, light bulbs, eye glasses, vases, glass art pieces, and the like, should be think twice before tossing them in the curbside bin. Check out EARTH911’s extensive database of recycling solutions near you.

4. Hardcover Books

Hardcover book

This is also an area that’s a common problem. After all, books are made out of paper, right? They are, but the sturdy cover of hardcover books also contains non-paper materials that have to be removed before putting them into your recycling bin. Another option is to contact your local library and see if they accept donation of old books so it can be once again enjoyed by others.

5. Clothing and Fabric

where to recycle clothing and fabric

This is an area which surprises many people. After all, clothing often does break down easily. However, curbside recycling is not the way to go for this item. It will clog up recycling machines so instead of putting clothing into your recycling bins, try running it down to the local Goodwill or other clothing donation center. Not only will this be a usable option, you may be giving someone else the chance to enjoy clothing that you no longer wear. This is just one element of green living that can help both you and others live more sustainably.

6. Cleaning Products

Dispose cleaning products properly

Most household cleaning products are now come in a recyclable container. While the container would be acceptable to recycle for its plastic element, it has to be emptied and rinse before throwing them into recycling bin. Since cleaning products are potentially hazardous, especially when mixed, you only want to dispose of them appropriately. Most water-soluble formulas can be diluted and poured down the drain. However, use up what you can to avoid waste. For cleaners that you may not know what is best, contact the manufacturer for directions or consider calling a hazardous waste disposal center for any special instructions.

7. Needles and Medical Waste

Needles & medical waste

Although it may seem quite obvious that these items cannot be recycled, it is very important to dispose them in a safely manner.

Medical sharps (Needles, Syringes, Lancets, EpiPens, etc) and medical waste including prescriptions containers and unused / expired medicines are classified as biohazards and therefore should always be disposed of in a hazardous waste box. With the potential for blood-borne pathogens, medical waste is not accepted and also discouraged in curbside bins since it could be dangerous to others. Needles are the biggest offenders but any medical waste could lead to problems. If you need to discard them, reach out to your doctor’s office or local health department to direct you to a designated collection site and discard them safely.

8. Electronics, cords and batteries

where to dispose electronic cords

Electronic equipment (including cords, wires, cables and the like) often contains metals, batteries, and other materials which may make it dangerous to recycle. Donation centers may also not accept electronics that aren’t in working order. The good news is that some electronic stores such as Best Buy will take and recycle e-waste appropriately.


9. Aerosol Cans

can we recycle aerosol cans

Although aerosol cans made of recyclable material, the pressurized air and its hazardous contents could pose a huge fire and explosion risk in the recycling center if you simply toss them in your curbside recycle bin. Contact your local county for hazardous collection program, or check out the designated disposal site to safely recycle your aerosol cans.

Now that you have an idea of what you can and cannot recycle, you may want to make sure you’re double checking the recycling bin every week. Just making a few changes can ensure that you’re only putting in items that can actually be broken down by your local recycling center.

How to Live Green in your Kitchen

as an Amazon Associate I earn from qualifying purchases.

Green living is something we hear being talked about every day in today’s world. In addition to this term, we also hear others like “sustainable living,” While both terms refer to practices that promote a healthy planet and clean environment, the two terms are often used interchangeably, but they probably shouldn’t.

“Sustainable Living” refers more to the way products are produced in an eco friendly manner using production techniques and materials that support a healthy environment instead of creating products with toxic chemicals in them or made in such a way as to cause more harm than good for the environment.

eco friendly cleaning product

Green living, on the other hand, refers to the habitual day-to-day activities that are routine and part of our daily lives. Living green means that we do these daily routines with the environment at the top of our minds and thinking about how we can do these activities in an earth friendly way. For example, we need to clean our kitchen everyday, so why not doing it in a greener way and create a green habit out of it by choosing an environmentally friendly cleaning products to use in our daily cleaning.

With that in mind, let’s look at several eco friendly cleaning products below that we can use in our kitchen to start with.

1. Seventh Generation Dish Liquid and Dishwashing Pack

eco friendly cleaning product

Ok, so since we’re talking about the kitchen, let’s look at what we use most in the kitchen for cleaning – Dish Liquid, of course!

We recommend Seventh Generation Dishwashing Liquid [available on Amazon] for its eco friendly, plant-based ingredients. This product works just like any other dish soap, so you’re unlikely to notice a difference between it and your previous dish soap. The only difference is that It works hard on dirty dishes yet gentle on the earth. As it uses USDA Certified biodegradable formula, this EPA Safer Choice dish liquid designed to go easy on our planet’s water supply and biodegrades after it goes down the drain.

2. Nordhus Design Swedish Dish Clothes

eco friendly dish clothes

Besides in the sink, what other cleaning essentials are found in all kitchens? Great Guess -Dishcloths, it is.

Well, we recommend Nordhus Design Swedish Dish Clothes [available on Amazon] not just because of its joyful and unique design, but also for its fast-drying feature so it doesn’t smell or mildewy after wash. What’s more important is that they are made with organic cotton and cellulose, which means they are 100% bio-degradable, but not before being washed and dried up and re-used over 200 times. Awesome! Use this to replace your sponges, dish rags and paper towels. What a Game Changer!

For added convenience, you can wash them in washing machine or the upper rack of your dishwasher.


3. Cloud Paper Bamboo Paper Towels

eco friendly paper towel

At times, we may need to use a single-use disposable paper towel instead of cloth for cleaning. In that case, we recommend Cloud Paper Bamboo Towels [available on Amazon]. Reason is simple, this tree-free paper towel rolls made of 100% bamboo.

Toilet paper and paper towels, just the two alone, contribute to 20% of global deforestation. This equals 40,000 trees cut down per day. Unlike trees, bamboo reaches harvest maturity in just three years and does not need to be replanted after it is harvested as the bamboo will continue to grow.

Plus, its plastic-free, recyclable and compostable packaging commitment make it the best eco-friendly cleaning product in the kitchen we can think of in that category.

They are a little rougher in texture, but they are super absorbent and will help you clean up just about any mess!

4. SCRUBIT Natural Scouring Pads

eco friendly scouring pads

As for the naughty, sticky, tough dirt that require heavy cleaning, we recommend using SCRUBIT Scouring Pad [available on Amazon] to treat as it fights all types of grease and grime. They are made entirely out of Sisal -100% natural combination of fibers, durable materials carefully selected and combined for long lasting scouring.


5. Mrs. Meyer’s All-Purpose Cleaner Spray

eco friendly cleaning spray

Mrs. Meyer’s All-Purpose Cleaner Spray [available on Amazon] is just perfect to be included in your eco friendly cleaning product collections as it feature hard-working multi-purpose agents yet gentle to the earth while also providing nice and bright scent to the home. A fresh, easy, quick way to remove stuck on dirt and bad odors throughout the house.  


6. Reli. Biodegradable Trash Bags

Last but not least, you’ll need a strong yet eco-friendly trash bag to collect all the waste away. What else if not to rely on Reli. Biodegradable Trash Bags [available on Amazon]. Premium value with eco friendly 13 Gallon toughness.


Green Habits

So you can see that green living involves analyzing our smallest of daily habits we do and figuring out how all those daily habits can be done with the environment at the forefront of our minds. With the above examples, we looked at one area of the house and a series of cleaning habits that you perform daily. From cleaning the dishes, wiping up spills, using dishcloths, and mopping the floor are all things we regularly need to do as part of our healthy daily routines.


So start with your kitchen and try to make sure every kitchen routine is done in an environmentally friendly way. Then you can move on to the bathroom and do the same thing. Pretty soon, after going from room to room in your house, you will have formed new routines, and you’ll have learned to source green products that are mostly reusable and earth friendly.